September is one of the months in which the Giarratane onions, the sweet, extra-large Sicilian onions that are perfect for stuffing and preparing in a thousand ways, are harvested: try these Giarratane onions stuffed with Legumotti.
The Giarratana onion is an onion grown in the area of the municipality of Giarratana in the south-east of Sicily. Its size is variable and a single bulb can weigh up to 3 kg. Its main characteristic is sweetness, which makes this onion particularly popular and part of the traditional Italian produce (P.A.T.) list created by the Ministry of Agriculture and Forestry.
Precisely because of its sweetness, this onion is also often eaten raw, but it is excellent with all types of cooking: boiled, grilled and baked au gratin.
Stuffed with my beloved Legumotti topped with lots of vegetables and a touch of melting cheese, it is a perfect main course for people affected by diabetes and coeliac disease for both lunch and dinner.
If you like Legumotti, try them in the Legumotti salad with caramelised Tropea onion.
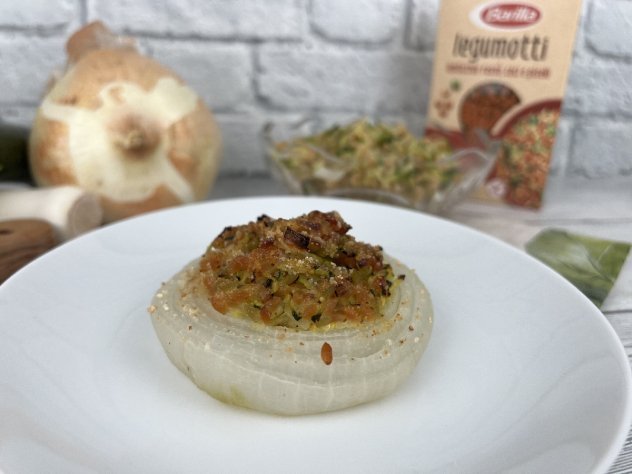
Giarratane onions stuffed with Legumotti
carbohydrates 13.13g per 100g
Ingredients for 4 servings
- 4 Giarratane onions of about 350g each
- 180g courgettes
- 150g leek
- 120g Barilla Legumotti*
- 50g sharp Provolone cheese
- breadcrumbs*
- extra virgin olive oil
- oregano
- salt and pepper
**Ingredients specific for celiacs
*Ingredients whose labels must read “gluten free” (or, in Italy, present on Prontuario AIC)
Preparation
- Peel and trim the Giarratane onions then cut them in half horizontally.
- Put a pan of water on the heat, when it comes to the boil throw in the Giarratane onions cut in half and boil them for 5 minutes. Drain them with a skimmer and lay them on a cutting board to dry.
- Chop the leek very finely and sweat it in a non-stick pan with a little oil. Add grated sharp Provolone cheese and stir to melt.
- Use, if you like, the water used to blanch the onions to cook the Legumotti for 9 minutes, then drain and throw them into the non-stick pan with the vegetables; stir and season with salt and pepper.
- Remove some internal layers of the onions to form a hollow for the filling; use the inside of the onions for any other preparation (sauces, onion stuffing, caramelised onions, etc.).
- Stuff the emptied onions with the Legumotti, sprinkle with breadcrumbs and a drizzle of oil and put in a convection oven preheated to 200°C for 15 minutes to gratin.
- Serve the stuffed onions warm.