This stop on my Tour of Italy in 20 Gluten-Free Recipes takes us high into the mountains of Trentino-Alto Adige, where my friends Gianni and Lorenzo introduced me to a dessert I had never come across before: the Mòchena Brioche.
“Mòchena” refers to the Valle dei Mòcheni, an area where traditional baking is closely linked to local ingredients. Berry cultivation is particularly widespread here and represents one of the defining features of the region’s culinary identity.
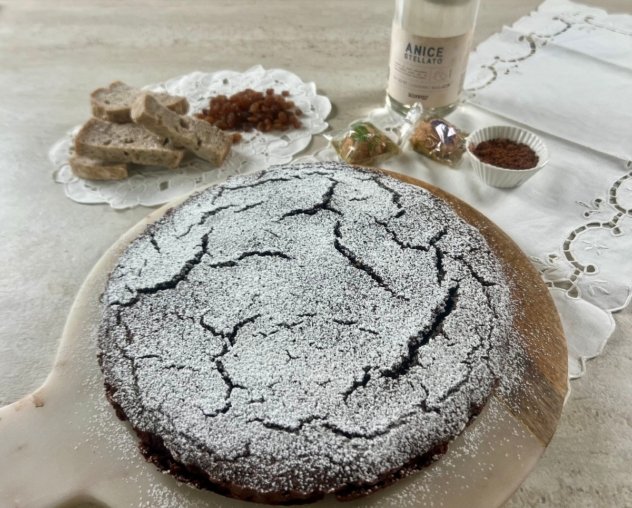
Alongside the berries, the structure of this dessert reflects the Central European influences typical of this border region: a fragrant, carefully crafted dough similar to brioche, braided and enriched with pastry cream and fruit preserve to create a soft and indulgent texture.
This gluten-free version preserves that balance, focusing on both structure and flavour to produce a light, well-risen braid in which the sweetness of the pastry cream is complemented by the slightly tangy notes of blueberries. It is no surprise that Gianni and Lorenzo immediately thought of such a delicious dessert, and I am grateful to them for introducing me to it!
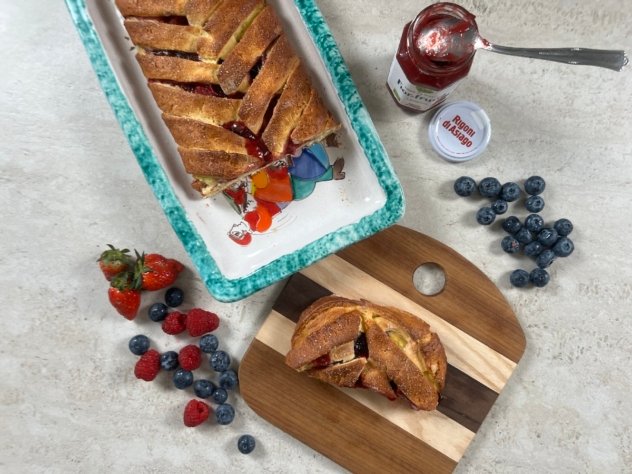
Gluten-free Mochena Brioche
49g carbohydrates per 100g
Ingredients for one 40cm brioche
- 165 g Biaglut bread mix**
- 165 g Nutrifree bread mix**
- 85 g milk
- 80 g softned butter
- 50 g sugar
- 2 medium eggs
- 12 g fresh brewer’s yeast
- 4 g salt
- zest of 1 lemon
- seeds from a small piece of vanilla pod
For the filling
- 300 g pastry cream (prepared with 200 g milk, 60 g sugar, 16 g cornstarch*, 2 egg yolks and vanilla)
- 200 g raspberry jam
- 50 g fresh mixed berries
To finish
- 1 egg white
- brown sugar
**Ingredients specific for celiacs
*Ingredients whose labels must read “gluten free” (or, in Italy, present on on Prontuario AIC)
Preparation
- Pour the milk into a small saucepan, place it over low heat and add the sugar, stirring until dissolved. Remove from the heat, allow it to cool slightly, then add the eggs and whisk well.
- Crumble the yeast into the milk and egg mixture and whisk until fully dissolved.
- Place both flour mixes into the bowl of a stand mixer fitted with the paddle attachment. Mix for a minute to aerate the flour, then add the liquid mixture containing the yeast. Knead at low speed until combined, add the salt and continue mixing until the dough becomes smooth and homogeneous.
- Meanwhile, combine the softened butter with the lemon zest and vanilla. Gradually incorporate it into the dough, adding a little at a time.
- Shape the dough into a ball and leave it to rise in a bowl covered with cling film in a slightly warm oven for about 2 hours, or uncovered if using a steam-proofing function.
- Once the dough has doubled in size, transfer the bowl to the refrigerator and chill for 30–40 minutes. This step makes the dough easier to handle.
- Roll out the dough on a lightly floured sheet of baking paper to form a rectangle measuring approximately 30 × 40 cm.
- Imagine dividing the rectangle lengthwise into three equal sections. Spread the pastry cream over the central section, cover it with the blueberry preserve and scatter the fresh berries on top.
- Cut diagonal strips approximately 3 cm wide along the two outer sections. Fold the strips alternately over the filling to create a braided effect, then seal both ends to prevent the filling from leaking during baking.
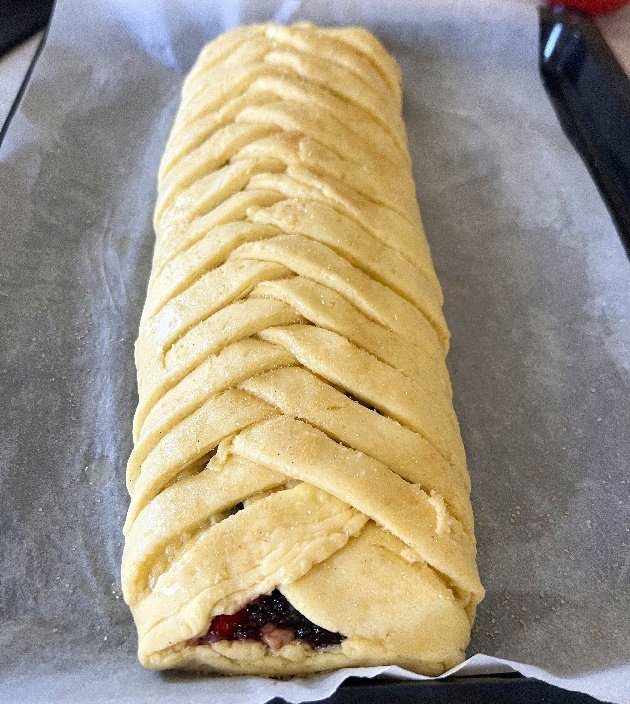
10. Brush the surface generously with the lightly beaten egg white and sprinkle with brown sugar. Leave the braid to rest while the oven preheats.
11. Bake in a fan-assisted oven preheated to 170°C on the middle shelf for 40–50 minutes, or until the braid is golden brown. If it starts to brown too quickly, cover it loosely with aluminium foil. Allow the braid to cool completely before serving.