The seventh stop on my Tour of Italy in 20 Gluten-Free Recipes takes us to Veneto, where we discover one of the most iconic dishes of the Veronese culinary tradition: gluten-free Tortellini di Valeggio, also known as Nodo d’Amore (“Love Knot“).
This recipe was suggested by Cecilia, who told me how much she loves this local specialty, a symbol of the area where she grew up, and how difficult it is to find a gluten-free version even in restaurants around Valeggio.
Valeggio Tortellini take their name from the charming village of Valeggio sul Mincio, where their tradition has been carefully preserved for generations. They are distinguished by an exceptionally thin sheet of pasta and an elegant shape resembling a small knotted handkerchief. This distinctive shape is the reason behind their second name, Love Knot, which is linked to one of the area’s most captivating legends.
According to the legend, a beautiful nymph from the Mincio River fell deeply in love with a young captain. To escape the conflict that threatened to keep them apart, the two lovers disappeared together into the waters of the river. Before leaving, the nymph placed a silk handkerchief tied in a delicate knot on the riverbank as a symbol of their eternal love. Tradition says that this graceful knot inspired the unique shape of these famous tortellini.
Today, the Love Knot remains one of the signature dishes of the local cuisine. Recreating it in a gluten-free version allows those who must avoid gluten to rediscover a specialty that is deeply rooted in the history and traditions of this beautiful region.
And throughout this culinary journey across Italy, everything begins with one simple question:
“Why can’t I easily find a gluten-free version of a dish I love?”
This recipe is my answer to Cecilia.
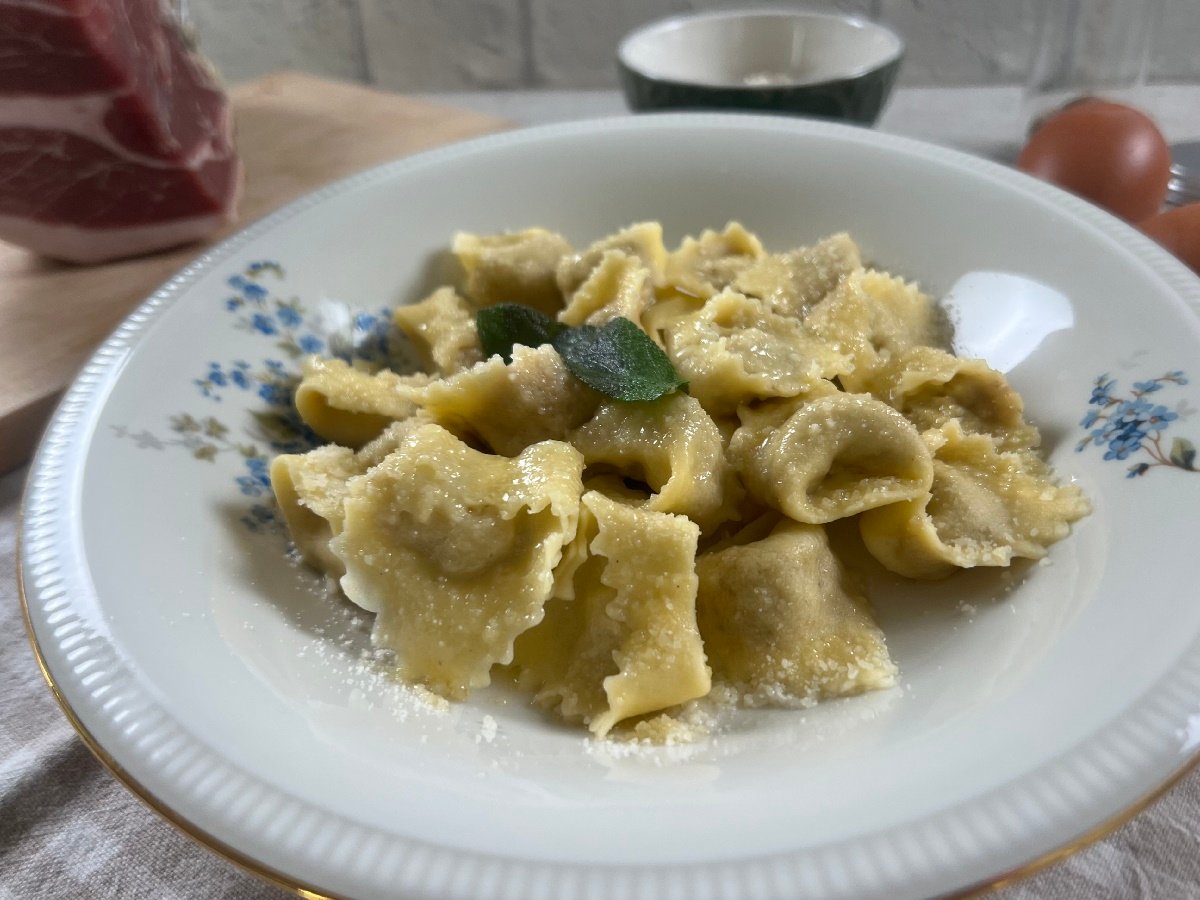
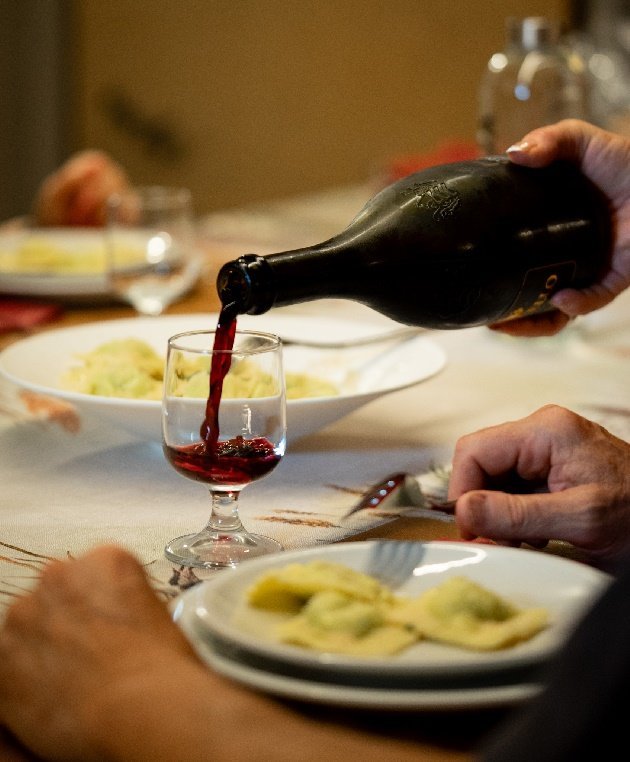
Gluten-free Tortellini di Valeggio
26g carbohydrates per 100 g of uncooked tortellini
Ingredients for the filling for 6-8 servings
- 100 g beef
- 100 g pork
- 100 g veal
- 100 g chicken
- 50 g Prosciutto di Parma
- 50 g carrot
- 50 g onion
- 30 g celery
- 30 g Parmigiano Reggiano, grated
- 1 egg
- 1 glass dry white wine
- 1 knob of butter
- nutmeg
- salt and pepper
Ingredients for the dough and for dressing
- 500 g gluten-free Mix for fresh pasta Mulino Dallagiovanna** (or, if you want to use naturally gluten-free flours, see recipe Angolotti del plin)
- 6 eggs
- Parmigiano Reggiano, grated
- butter
- 4-5 sage leaves
- a pinch of salt
- brown rice flour*
**Ingredients specific for celiacs
*Ingredients whose labels must read “gluten free” (or, in Italy, present on on Prontuario AIC)
Method
- Finely chop the carrot, celery and onion. Melt the butter in a large pan, add the vegetables with a pinch of salt and cook gently until softened.
- Cut all the meats into small pieces and add them to the pan. Brown them over medium heat, stirring frequently until they lose their raw colour. Add a sprig of rosemary and pour in the white wine. Once the alcohol has evaporated, cover with a lid and continue cooking until the meat is tender.
- Remove the rosemary sprig and transfer the cooked meat to a food processor. Blend until smooth, then place the mixture in a bowl. Add the finely chopped Prosciutto di Parma, grated Parmigiano Reggiano, the egg, freshly grated nutmeg, salt and black pepper. The filling should be firm enough to hold its shape. If necessary, add a little gluten-free breadcrumbs.
- Roll out the pasta dough as thinly as possible and cut it into approximately 4 × 4 cm squares. Place a small ball of filling in the centre of each square. Fold the square diagonally to form a triangle, then wrap the two corners around your finger and press them together to create the traditional tortellino shape.
- Cook the tortellini in lightly salted boiling water until they float to the surface. Remove them carefully with a slotted spoon and toss them with melted butter infused with fresh sage leaves. Finish with plenty of grated Parmigiano Reggiano and serve immediately while piping hot.